So, baby Vera is at max just over 2 weeks away and I've had lots of fun decorating the nursery. I did most of it DIY, which is pretty suburban, but what can I say, I'm crafty. I feel a little bad because I did so much for her nursery and for my son's nursery a few years ago I just painted the room and slapped a couple pics on the wall, but oh well. It was fun. Also, I have a tendacy to under-decorate and to not put too much on the walls, but in this room I went a little crazy. Here's a run down on the projects I did in her room and links to the tutorials I used.
THUMBPRINT HEART WALL ART
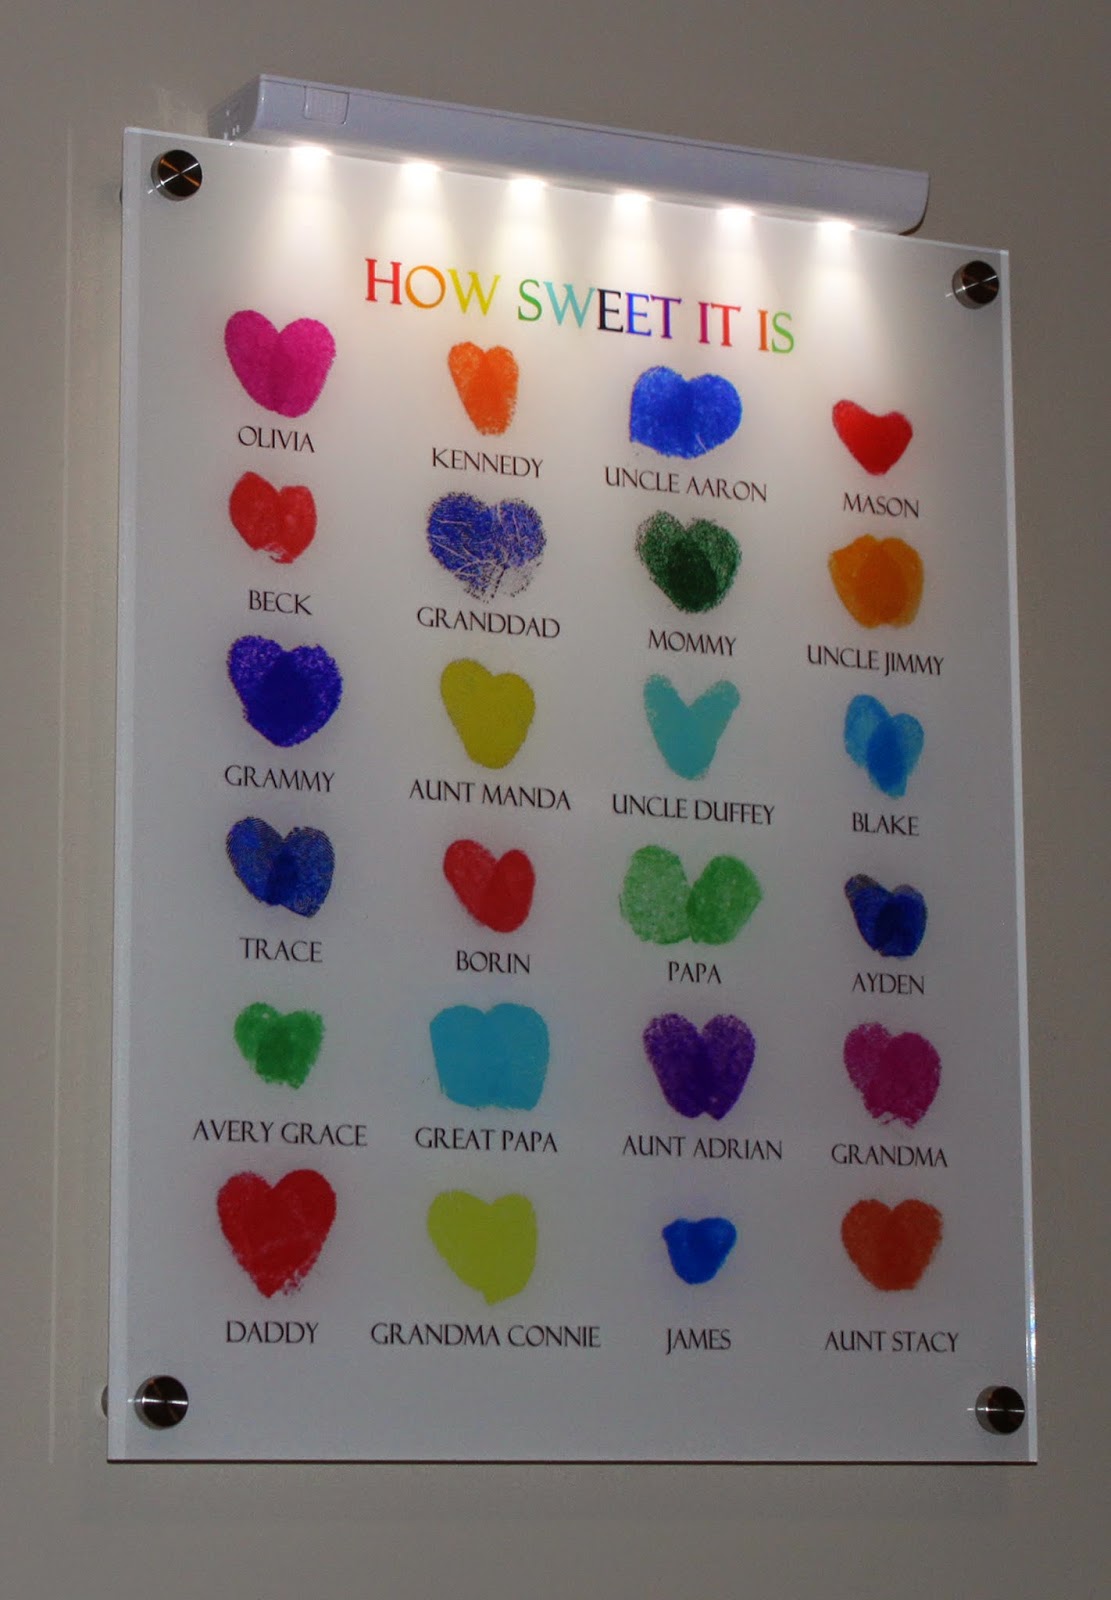
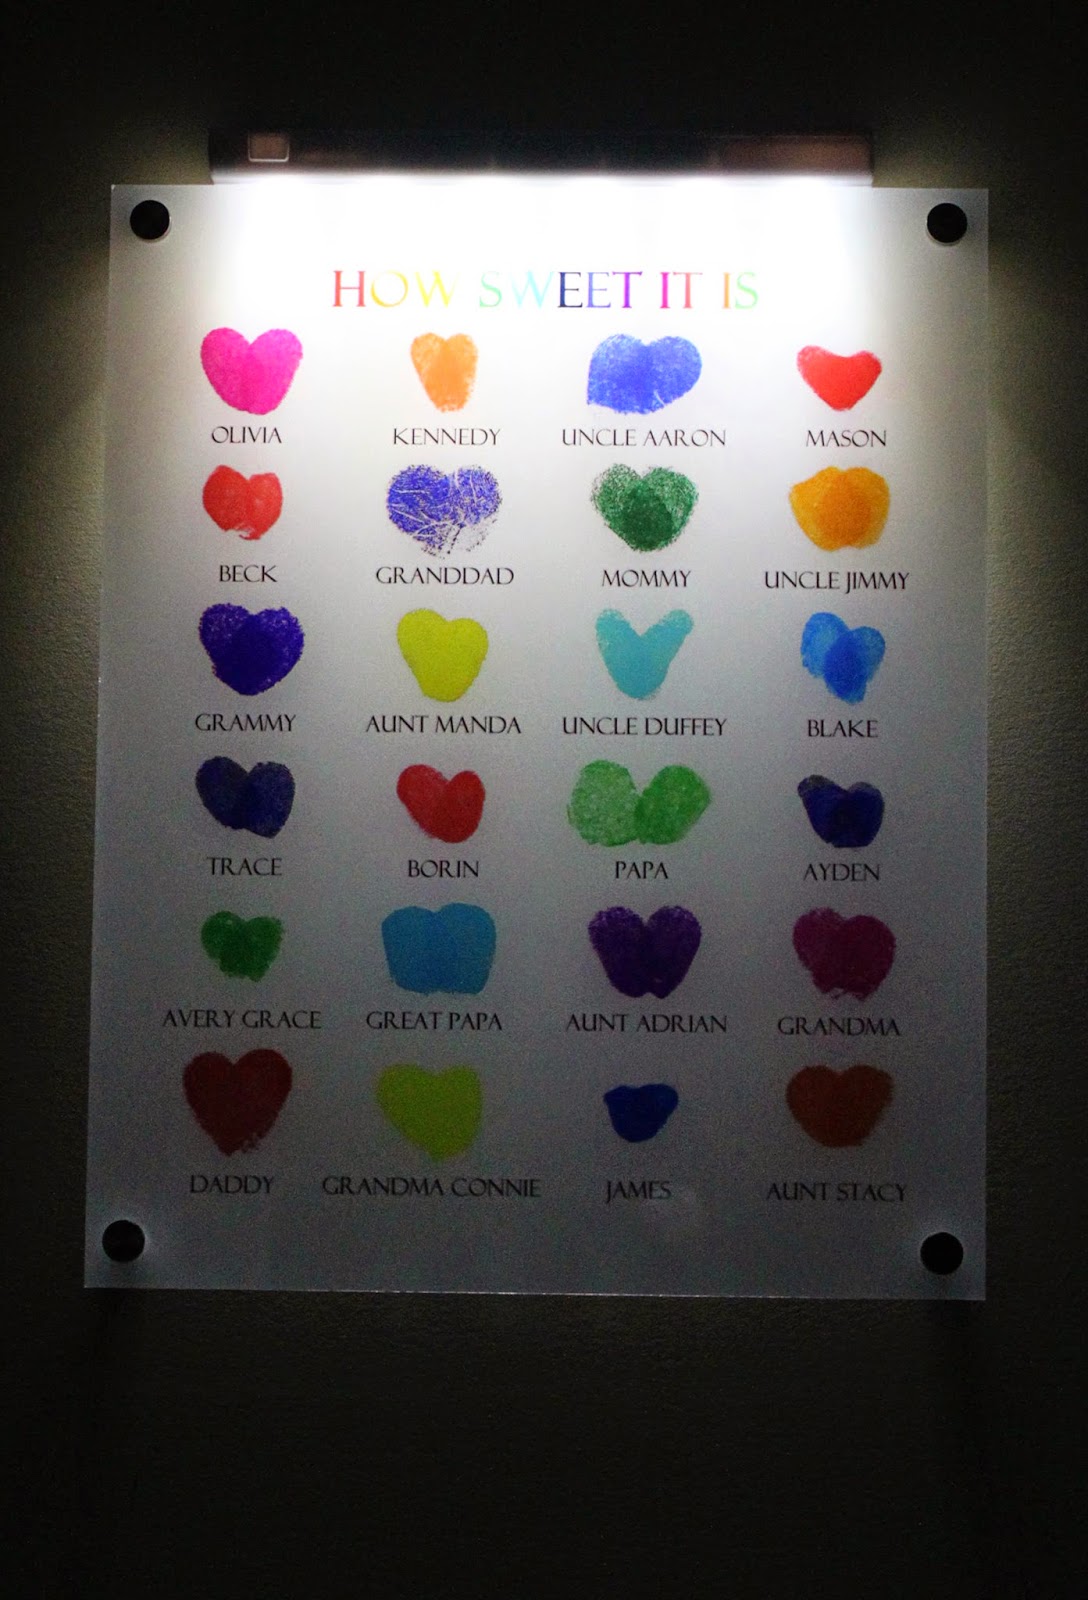
 My main idea for the nursery was to collect thumbprint hearts from our family and then have a poster or something made from them. I figured I could do them in different colors (thanks Photoshop) and then decorate the room with bright colors. That was the main idea and inspiration for her room.
I loved the idea of having something so personal from her family and I love that thumbprints represent how we are all unique and that the hearts are all a little different and imperfect, but come together so well. I collected the thumbprint hearts from our helpful family and arranged it all in Photoshop. I was going to get a mounted print of some kind, then found that Snapfish offered acrylic and had a coupon so I went with it and... I love it!
As an added bonus, I thought it might be cool to somehow add some light to it since it was acrylic. I found a battery powered under cabinet LED light strip for under $15 at Wal-Mart and it included a remote. Score! Perfect way to check on the baby without turning on bright lights and it looks kinda cool in the dark. I'm sure there are better ways to light it, but quick, cheap, and remote... I'm satisfied. And I literally just set it on top so I can take it down any time I want.
 I really wanted some sort of accent wall, but refused to paint since our house is less than a year old. So I turned to my Silhouette and vinyl (okay, that sounded SUPER suburban). I cut out lots of vinyl clouds and put them all over the wall as well as a little cut out with her name on it. Also, I do tend to love fabric buntings so I used my stash of thrift store t-shirts from my Etsy days to make some pennants to create a couple of rainbow colored buntings. Upcylced and colorful.
BEDDING AND CURTAINS
 For the bedding I ordered some custom fabric from Spoonflower.com using just the thumbprint hearts of our little family (I didn't have time to wait for extended family on this one). I liked the idea of her being surrounded by our thumbprint hearts and it turned out nice for the bumper. Generally I found bedding tutorials here. I struggled a little to find a good bumper tutorial because I wanted to do the full length of the crib and not use the 6 pack of bumper inserts you can buy at craft stores, so the main bumper tutorial I used was this one. I picked some other bright colors for the opposite side of the bumper, the ties, and the crib skirt. I bough the crib sheets because I didn't want to mess with that, and really, Target has cute, cheap sheets, so why entertain the hassle.
  I originally intended to buy curtains but I couldn't find what I wanted. After exhausting my options, I decided I'd just make the curtains myself, I couldn't find the wide striped fabric I had envisioned, so I just went with chevron (my apologies to Vera if this completely dates her room in the future since chevron is big in the 'burbs these days). The main benefit of DIY-ing the curtains was that I was able to do black-out lining and ultimately it did save a few bucks.
CHALKBOARD PAINT AND PHOTOSHOP
To go over the crib, I painted little wood plaques from the craft store with chalkboard paint and printed big versions of our family's thumbprint hearts, then put our names under it in chalk. I also made this little print to put in the middle and found a nice bright yellow frame for it. It turned out cuter than I thought it might.
 And when looking for a quote for her room, I saw one on Pintrest that used these lyrics from the John Mayer song, "Daughters." It seemed pretty perfect for her colorful room and our undoubtedly colorful gal-to-be (plus we love John Mayer around here) so I had to do an extra quote and I put it on her dresser.
 My son didn't have a mobile in his room because I wasn't crazy about the ones in the store, but once I saw some cool versions online I decided that Vera needs one. I made this one (which is actually a no-sew) by stringing cardstock to embroidery hoops - based on this tutorial. I don't trust it enough to put it over her crib, but I put it where she can look at it during diaper changes. I also have a love for paper garland, so I got a heart punch and made some colorful heart garland to hang.


No comments:
Post a Comment